Usage
Logging In

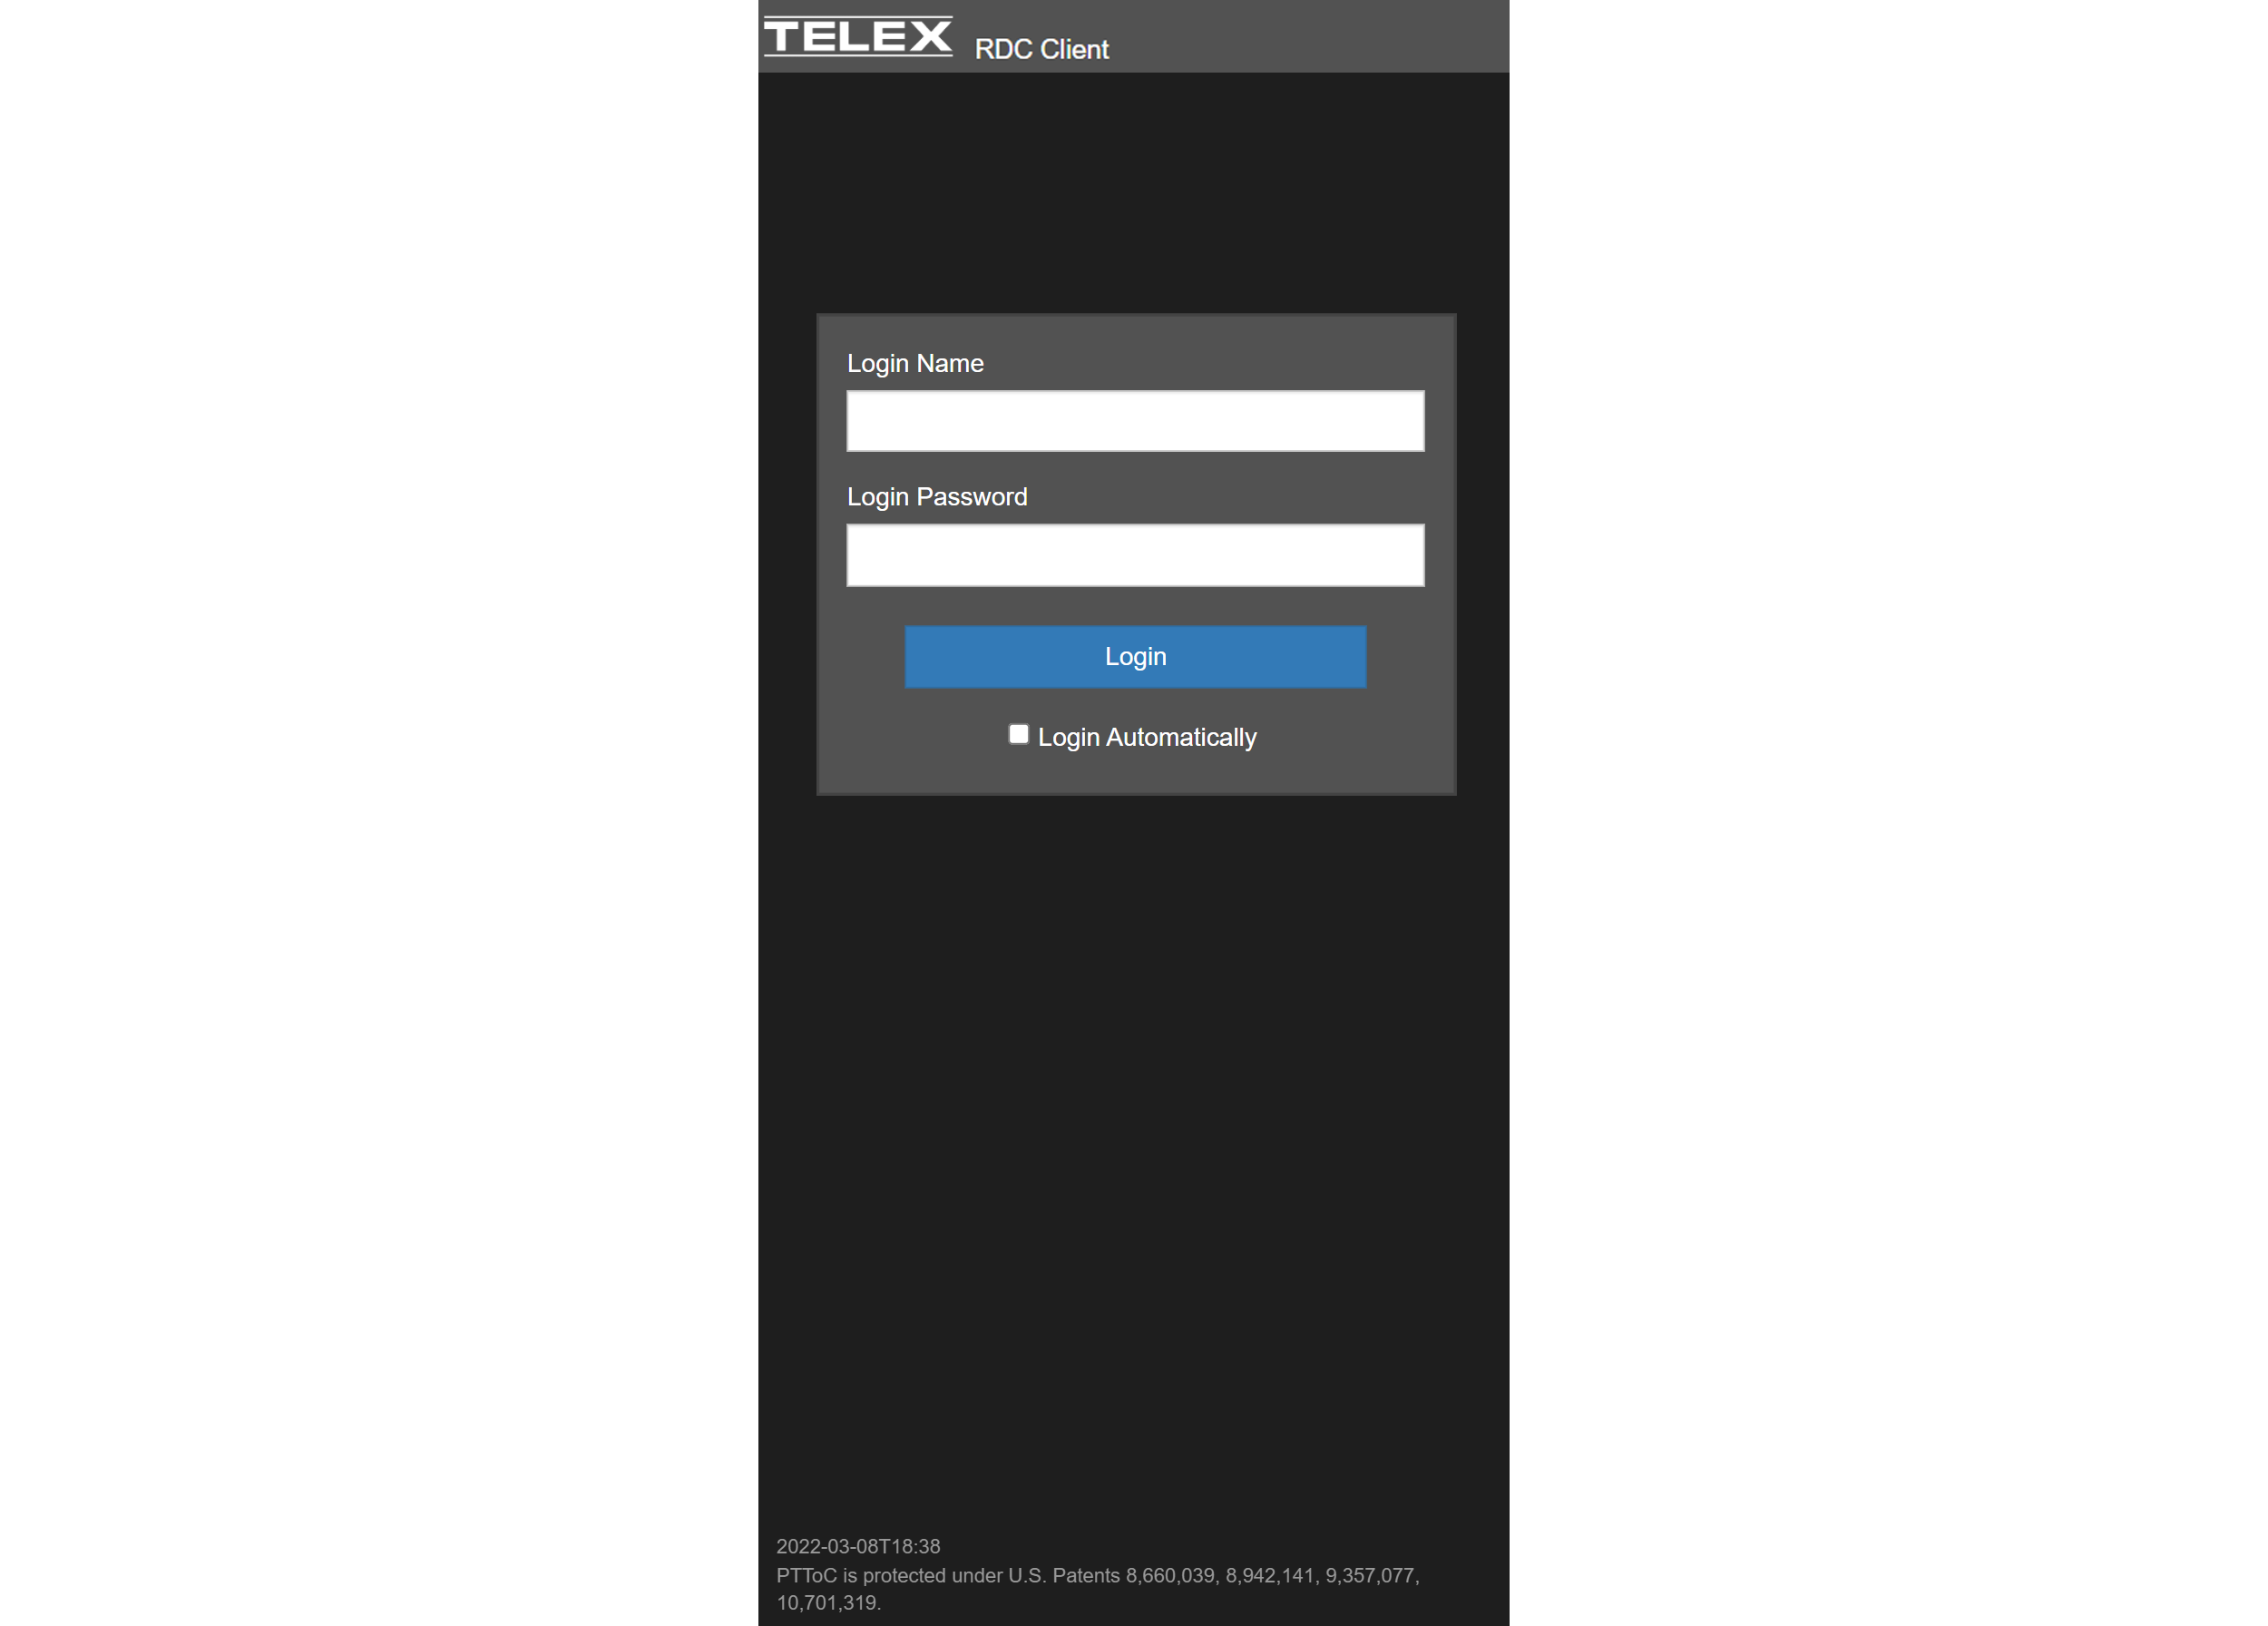
Log in with the default credentials or the credentials you configured in the System Administration. The default users have a Login Name of user01 to user30 and no password. Once connected to the server the App will remain connected whenever there is an available network connection even if the User Interface closed by swiping up. To disconnect from the server the user must select the Logout button from the User Interface.
Group Tab

Telex RDC includes 3 main tabs: Groups, Users, and Recent Calls. The group tab displays a series of buttons called "Selectors." The leftmost text is the Group Name and the rightmost text is the name of the last user to speak on the channel. Selectors will turn white when there is audio on the channel.

Tap the right side of the selector to listen. A green speaker icon will appear to indicate that you are listening to the channel. As long as you are logged in and have the selector listen enabled you will continue to hear audio even if the app is closed and/or the display is off.
Tap the left side of the selector to enable talking on the channel. A blue microphone icon will appear to indicate that you have enabled talking on the channel. This also enables listening to the channel. Press the red microphone button at the bottom of the screen to talk. If no one on the channel is speaking you will hear a "go-ahead" tone otherwise you will hear a "busy" tone.
Emergency Mode
 Emergency Mode is activated by pressing and holding the red Emergency Mode button in the top right corner. When Emergency Mode is activated it will declare an emergency on the channel which will result in emergency tones being played on all devices that have this selector assigned as well as on the Radios and the C-Soft Dispatch Console. The Emergency can only be cleared by the console operator.
Press and hold the red exclamation point button at the top of the screen to enable Emergency Mode. Tap the button to disable Emergency Mode.
User Tab

The User tab allows you to make a Private Call with an individual user.
Making a call
Tap the name of the user you wish to make a Private Call to. Press the red talk button to speak to the callee. Once the talk button is pressed the callee will see a screen listing the caller's name.
Receiving a call
Note: Once the User Interface is put into the background it will close after 1 minute.
When receiving a Private call, when the User Interface is open, the Appear On Top option is enabled, and the screen is off, the Call Screen 1 is shown at which point the Private Call can be answered with the PTT.
When receiving a Private call, when the User Interface is closed, and the screen is off, Call Screen 2 is shown at which point the Private Call can be answered with the PTT.
When receiving a Private Call, when the User Interface is closed, and the screen is on, an Android notification message will be received. When a Private Call is received, the PTT will be temporarily re-assigned to allow responding to the Private Call. The temporary assignment of the Private Call will end after 10 seconds of inactivity which will be indicated by a notification tone. When the User Interface is not visible (either in the background or closed) and a Private Call is not active, the PTT button will activate whatever Group Selector is selected.
Other Functionality
Use the search bar at the top of the screen to search for individual users. Tapping the magnifying glass button increases/decreases the size of the user list. The eye button shows/hides offline users. The rightmost button (displaying a heart in the image above) allows you to sort by favorites, most recent call, or alphabetically. Tap the heart button to the right of a user's name to favorite them.
Recent Calls Tab

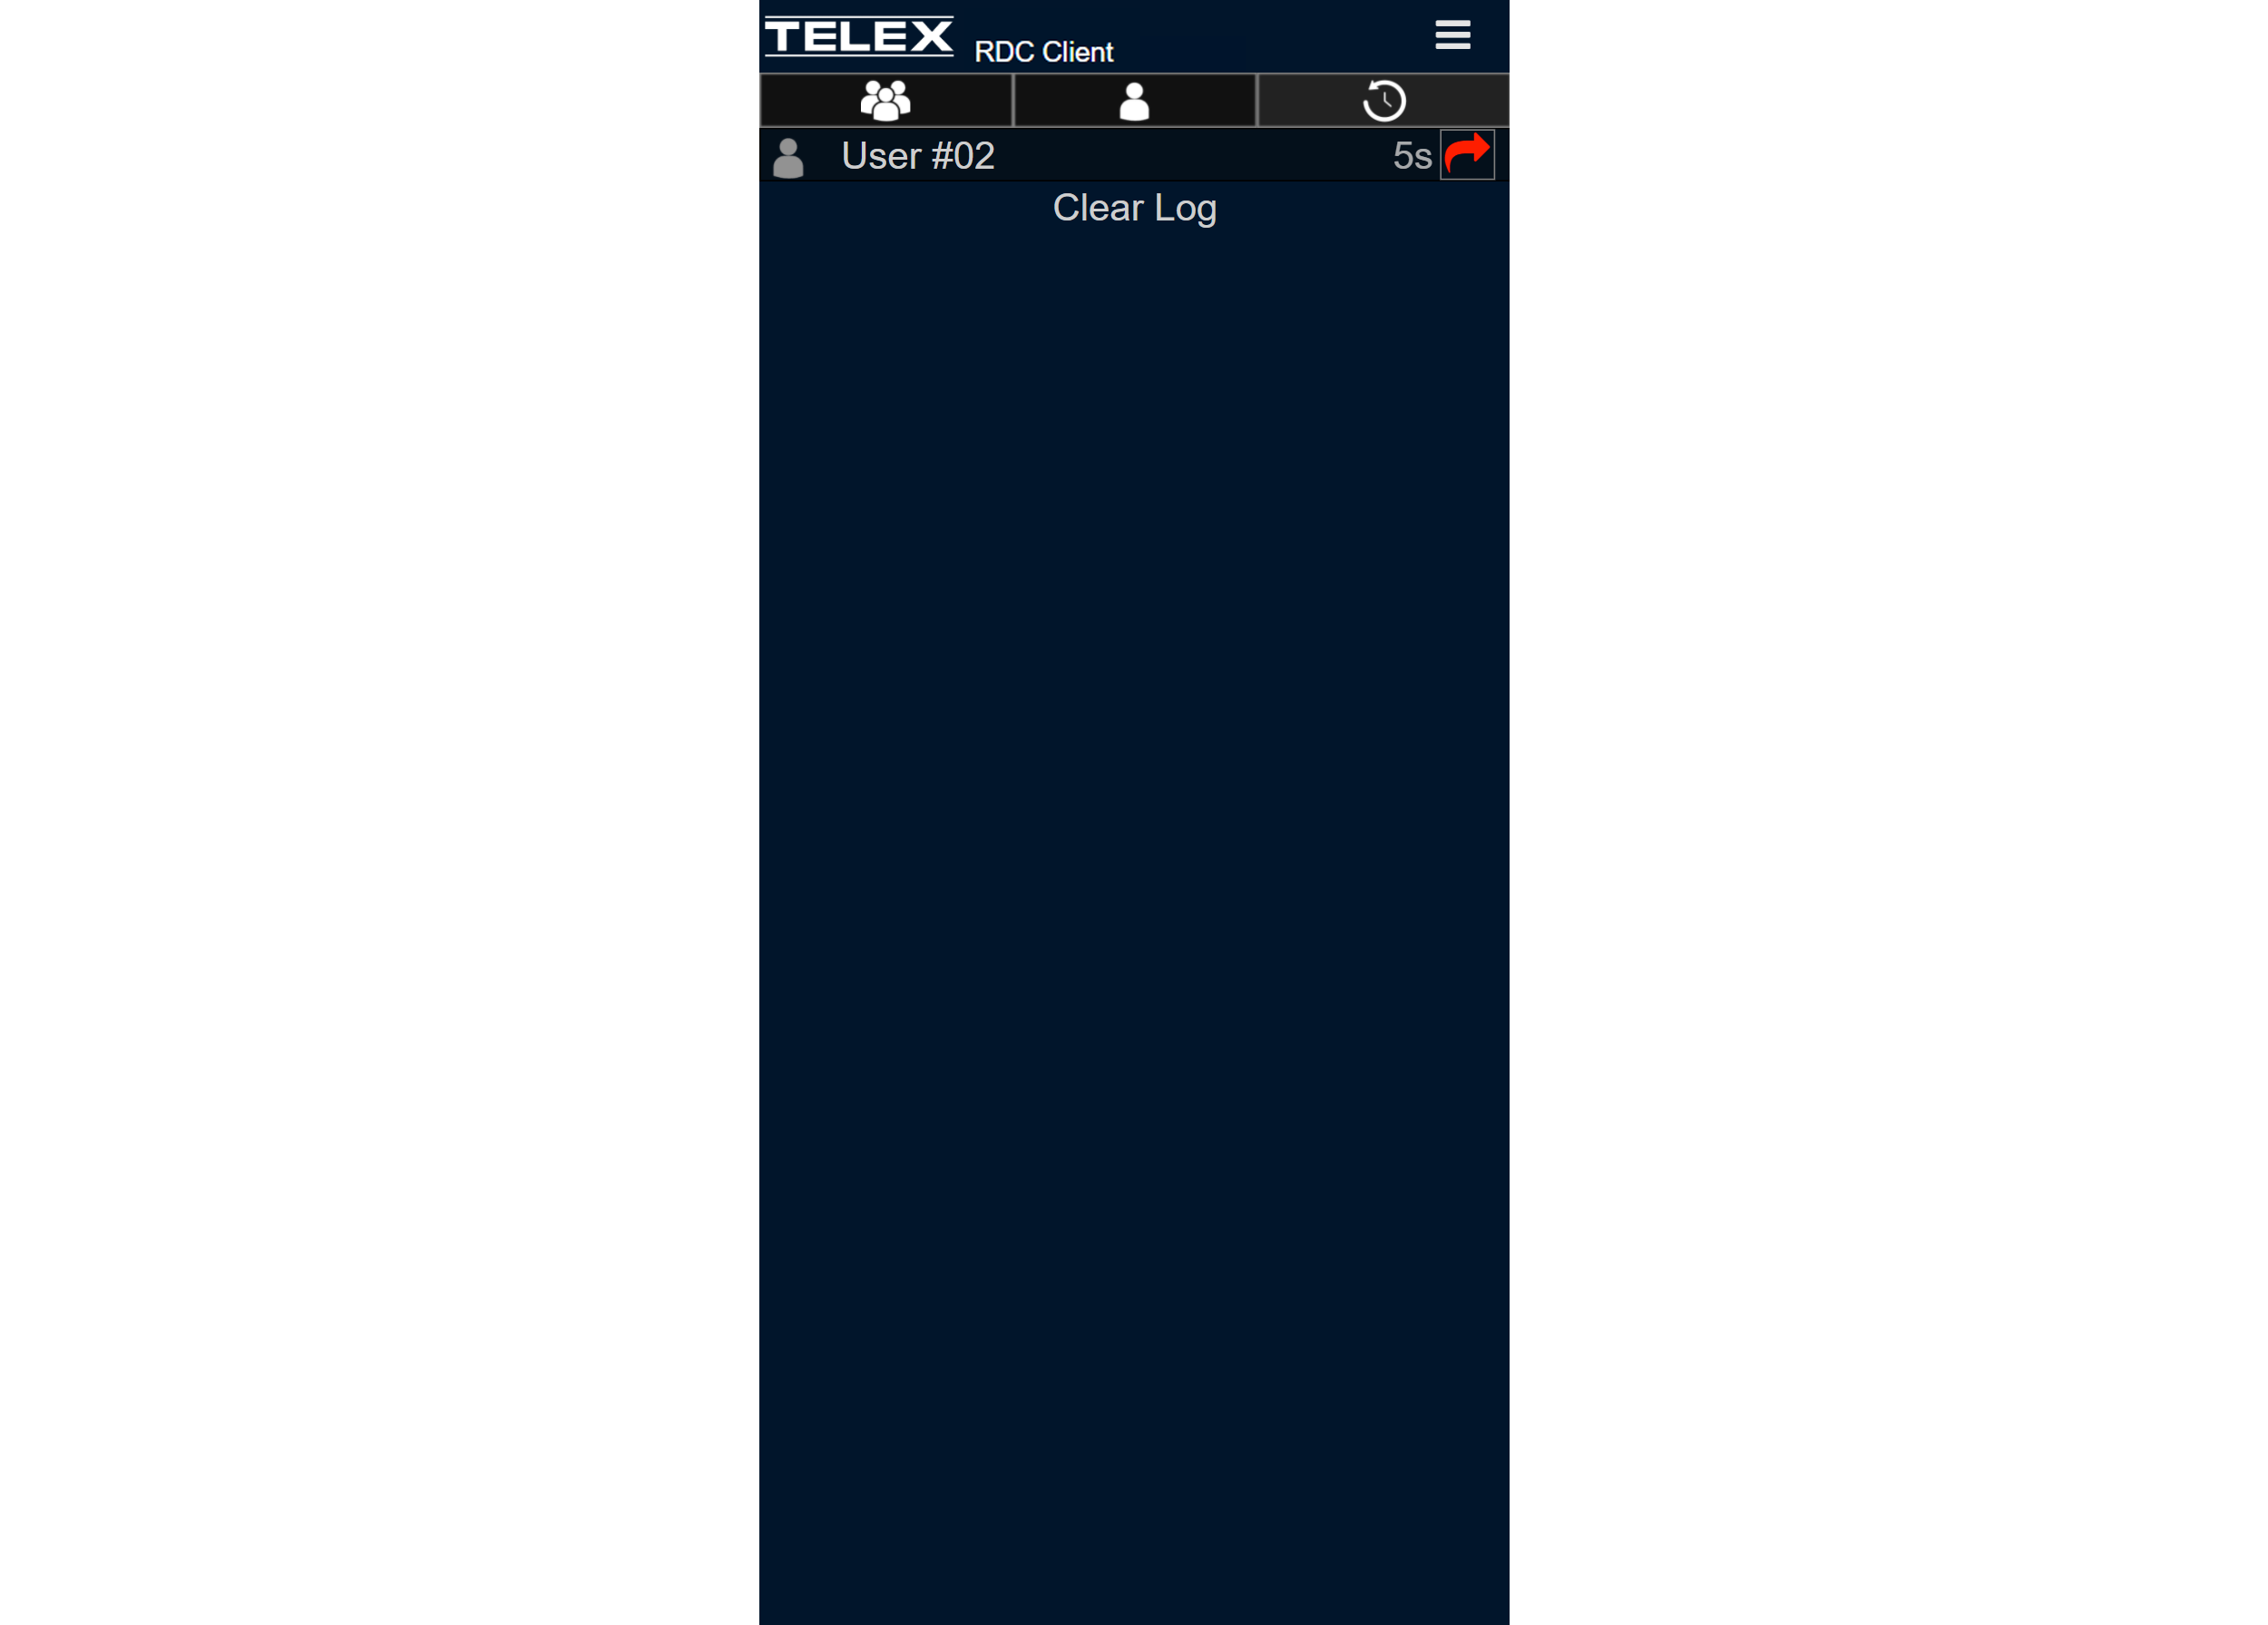
The Recent Calls Tab displays a list of the incoming/outgoing Private Calls. An arrow pointing to the right indicates an outbound call while an arrow pointing to the left indicates an inbound call. A red arrow indicates a missed call and a green arrow indicates a completed call. Press the Clear Log button to clear the list of recent calls.
Physical PTT and Emergency Button Assignment

On supported devices such as the Samsung Galaxy XCover it is possible to use the physical PTT and emergency buttons with Telex RDC. To enable this functionality tap the three bars at the top right of the screen and then select Customize. Tap the PTT button field and then press the physical PTT button. You will see the title of the button appear in the field. Follow the same process for the emergency button and then press submit.